Holy cow!! I hadn't realized how long it has been since my last update. I didn't forget about you all and don't worry...it's not like I haven't been doing anything. I managed to get a couple of bigger things accomplished at the house over the LONG winter.
In my last post, back in October, I mentioned that the next project was going to be building a dining room table. I'm not one that says I'm going to do something and then not do it. If I want something then I'm going to get it done...eventually. I had been looking online for some instructions on how to build a big harvest table. I came across this do-it-yourself website, ana-white.com. This site has hundreds of DIY projects and I found the perfect table that I wanted in my old house. The next goal was to get Page to go along with it. I knew that she would help me but it was just finding time to be able to do it. A few months had passed and we were finally able to get it fit into the schedule. I bought all my materials at Lockridge in Promise City for $113.13. Which I think is a pretty good deal for an 8 foot long harvest table. If I were going to go buy one, it would cost me well over $1,000. I delivered all the lumber to Page, let her do her magic and after a couple of weeks, this is what we hauled out of her basement and into my house.

Page had done her job and now it was mine to get it stained and coated with polyurethane. I put a couple of coats of stain on it and then applied 3 coats of poly on the legs and 6 coats of poly on the top. I used the polyurethane I put on my floors because it is heavier duty. So hopefully I will never ever EVER have to touch up the top again. I also found 6 matching chairs at Whiddledottles, the antique store in Humeston, and also a Hoosier cabinet at the antique/home decor store in Albia, Black Bird Primitives. I think it turned out amazing and my house finally looks complete!!! Now, I can say that it only cost me $113 but when I add in everything that Page has done for me, it is a million dollar table!

Another winter project I did was had carpet laid in my living room. I decided that adding carpet would look nicer than the old wood floor, warm the room up alittle, and just make it look better/homier. Now why would I want to cover up original hardwood floors, you ask?? Well the floor wasn't in very good shape and it's my house so I can do whatever I want :).I got ahold of Marjorie at Horton Floor Covering in Humeston and told her what I wanted. She called me back probably a couple weeks later and had what I wanted. This new carpet matches my bedroom carpet almost identical. I absolutely love how it looks and feels. I'm so glad I went ahead and did it. I was also able to re-arrange my living room how I wanted. This carpet is probably one of the best investments I've made in this "little" project.

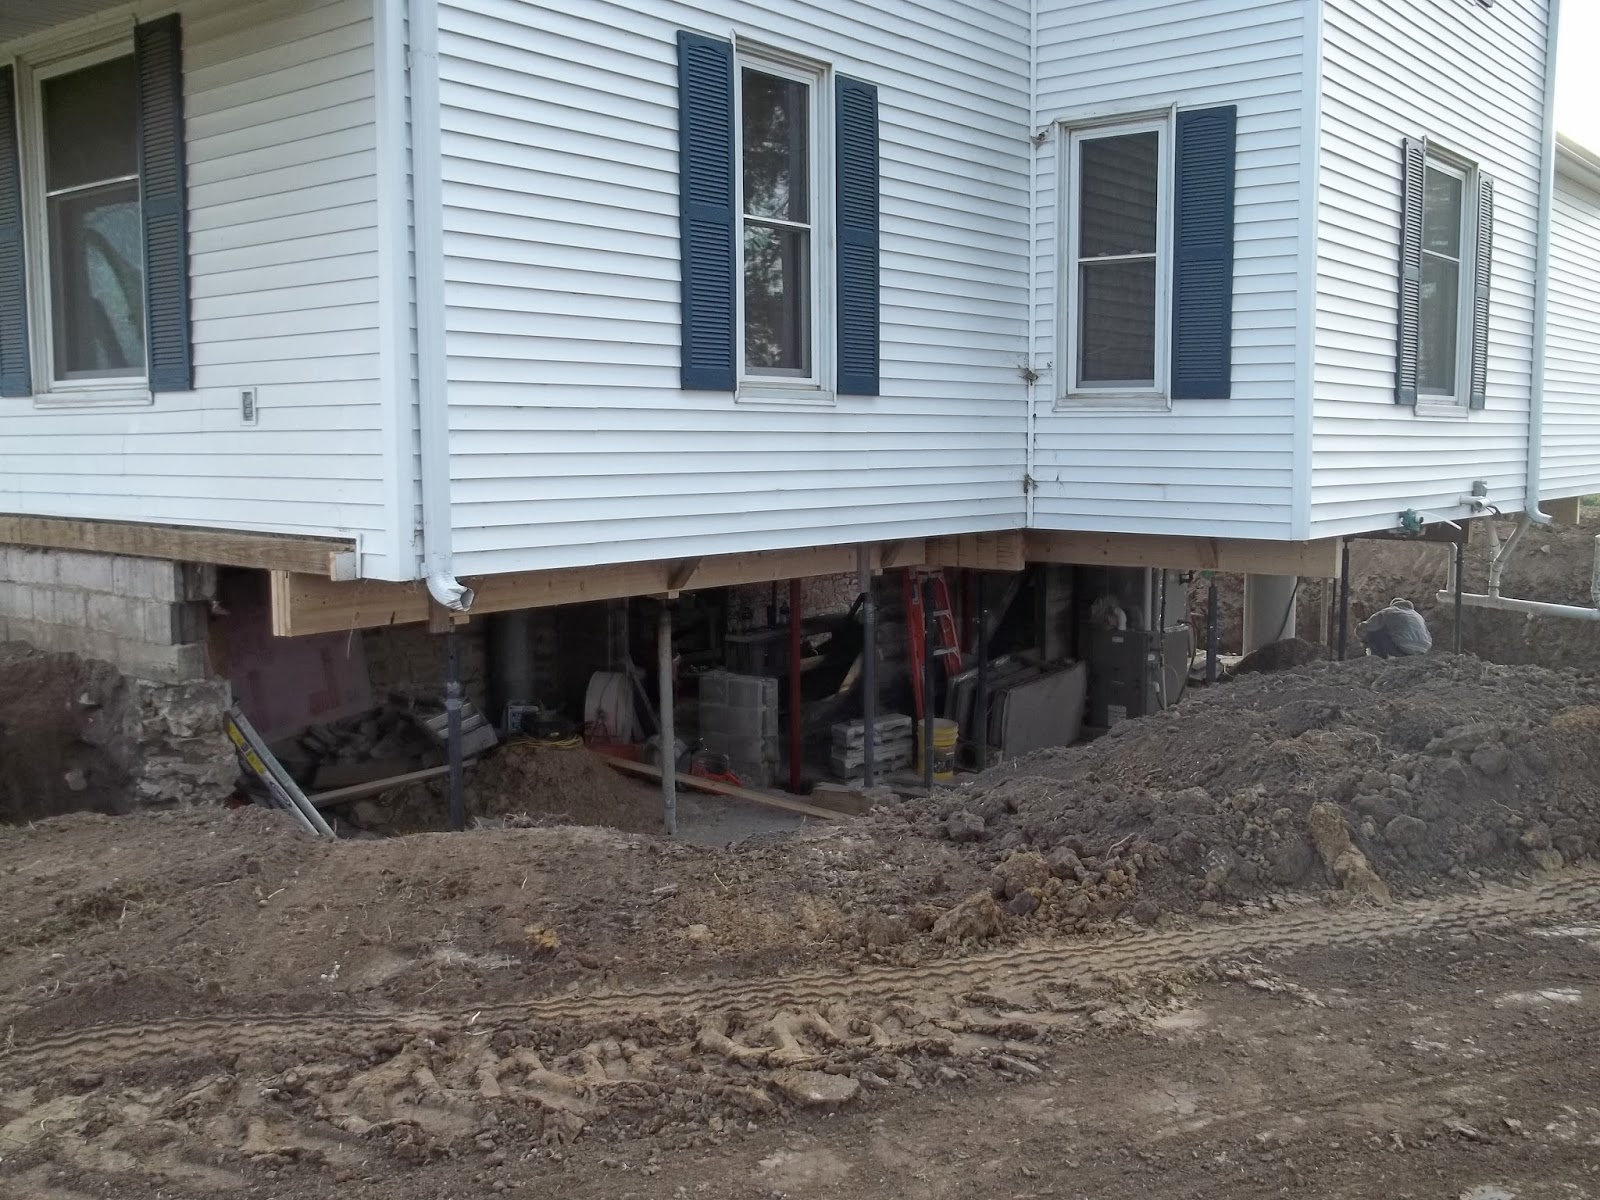
So what's my next plans?? Well, I'd like to re-finish my steps going upstairs and I still have some woodwork I need to work on. I've also been looking into a new basement. The basement that is under the house now is starting to get bad. The walls are starting to buckle more and more, the floors are buckled, it leaks water like crazy, it's cold, and is probably 103 years old. I'm working on getting numbers together so hopefully something will get done because it's just going to keep getting worse.
I hope you all are enjoying the nice spring weather. It feels so good to finally get past the winter. The grass is starting to turn green, the birds are starting to chirp, and the flowers are popping through the ground. Also, the planters are making their way out of hibernation. Spring is probably my favorite time of the year! Thanks for reading and keeping an interest in this adventure. Have a beautiful spring!